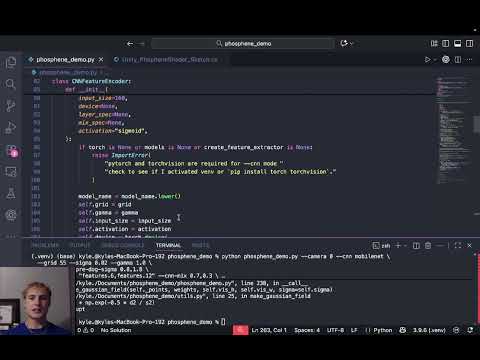
This project implements a real-time prototype of a visual neuroprosthesis using a Python preprocessing pipeline and a Unity phosphene renderer. Python encodes the world into an electrode grid and simulated percepts, while Unity displays the resulting phosphene field inside a curved virtual visual field.
The system has two components:
- Captures a camera frame or loads an image.
- Center-crops and normalizes the input.
- Downsamples into an N×N electrode grid.
- Generates a phosphene field by convolving electrode weights with Gaussian kernels.
- Produces a simple log-polar “cortical” transform for visualization.
- Streams the electrode grid and optional camera frame to Unity via UDP.
- Receives electrode intensity arrays and reconstructs them into a Texture2D.
- Uses a phosphene material and shader to blur electrodes on the GPU.
- Projects the phosphene texture onto the inside of a sphere to mimic curved visual perception.
- Displays the raw video (optional) on a separate quad.
- Exposes runtime variables (grid size, intensities, debug stats) and displays them through TextMeshPro.
To roughly approximate prosthetic perception, the phosphene texture should instead be rendered on a sphere placed around the camera:
- Create a Sphere in the Unity scene.
- Place the Main Camera at (0,0,0) inside the sphere.
- Apply the phosphene material to the sphere.
- Disable back-face culling in the shader (
Cull Off) so the inner surface renders. - Stream the incoming texture into the material’s main texture slot each frame.
This produces a natural, wide-field view rather than a flat overlay.
A TextMeshPro UI element can show any public variable from your rendering script. Example:
debugText.text = $"Grid: {gridSize} Intensity: {currentIntensity:F2}";Attach the text object and your quad script to a small Display script and update the string each frame.
/python
    phosphene_demo.py
    utils.py
    retinotopy.py
/unity
    Assets/
        Scripts/
        Materials/
        Prefabs/
        Scenes/
# Create and activate venv
python3 -m venv .venv
source .venv/bin/activate

# Install dependencies
pip install numpy opencv-python matplotlib

# Run with webcam
python phosphene_demo.py --camera 0 --grid 32 --sigma 0.06 --gamma 0.8

# Or run on an image
python phosphene_demo.py --image sample.jpg --grid 32